Debugger
About Debugger
In DSF, there are many ways to run your workflow, but all of them are a bit difficult to understand that calculations processed correctly.
To perfectly confirm that all of the tasks in a workflow processed correctly, you have to load all task results from a data store and check them one by one.
DSF debugger is made to support you checking that a calculation logic is implemented like you wanted.
Features
DSF debugger has special features below:
- Interactive UI by using jupyter notebook
- Auto-generated pipeline-based codes
- Customizability that allows you to choose test data
- Information that shows you task settings and results
Getting started
Running jupyter server
At first, you have to launch jupyter server at a root directory of your project.
cd {your project root directory}
ipython notebook --port 8888

# or to access from other pc.
cd {your project root directory}
ipython notebook password
ipython notebook --ip {your ip address} --port 8888
Generating debugger notebook
Next, you have to generate debugger by using dsfg command.
cd {your project root directory}
dsfg debugger --project-name {your project name} --workflow-name {your workflow name} --execution-date {date like YYYY/MM/DD}

ls debugger/{your project name}/
> {your workflow name}-{auto-generated debugger id}.ipynb
Opening debugger notebook
After you generated notebook, Let’s open it on jupyter server.
From your browser, access to http://localhost:8888.
Please replace localhost by your IP if you specified it at launch.
Move to debugger > your project name, And open some .ipynb file.

Then execute auto-generated python code on top of notebook to initialize debugger.
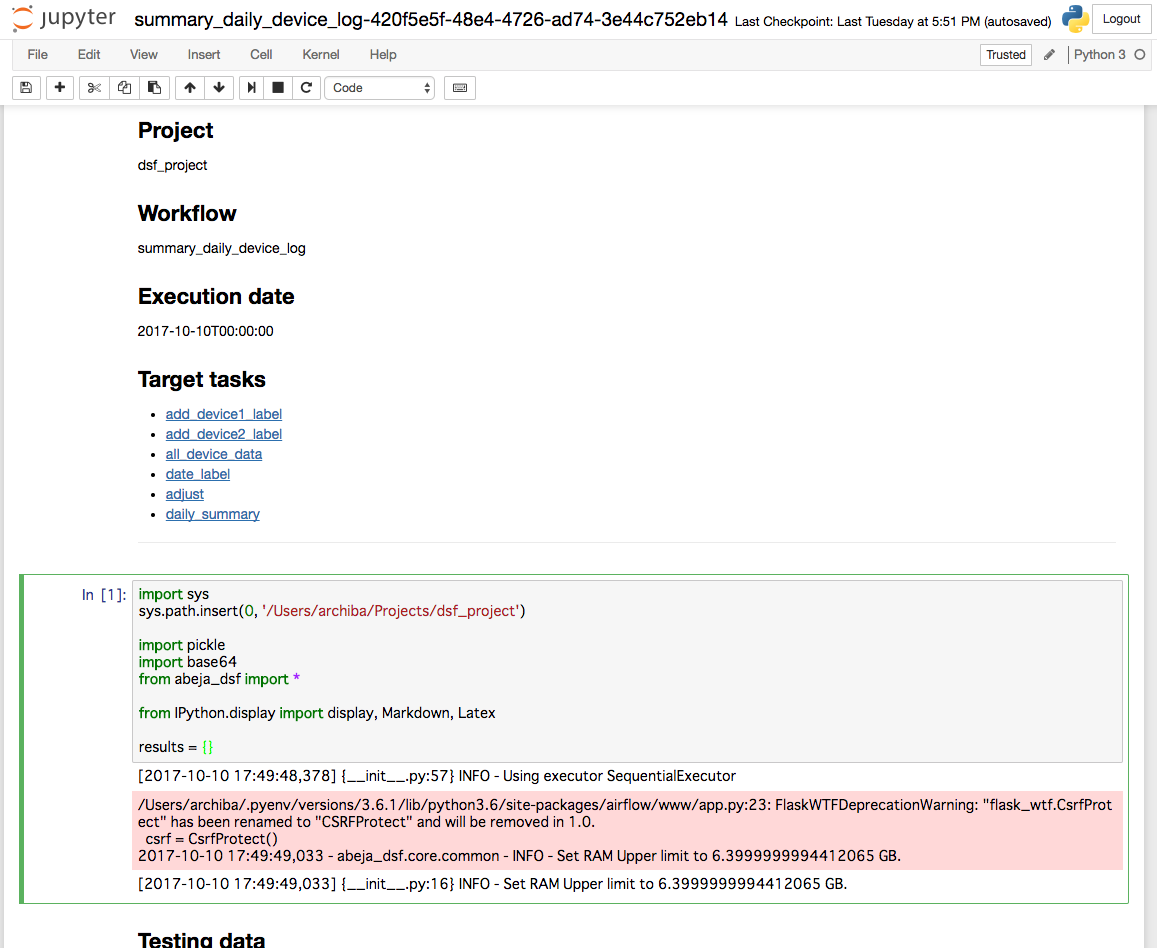
To execute a pane in jupyter notebook, You can use button on the top of view or {Shift + Enter}.
Defining your test data
Define your test data that are alternatives to loader tasks in your workflow.
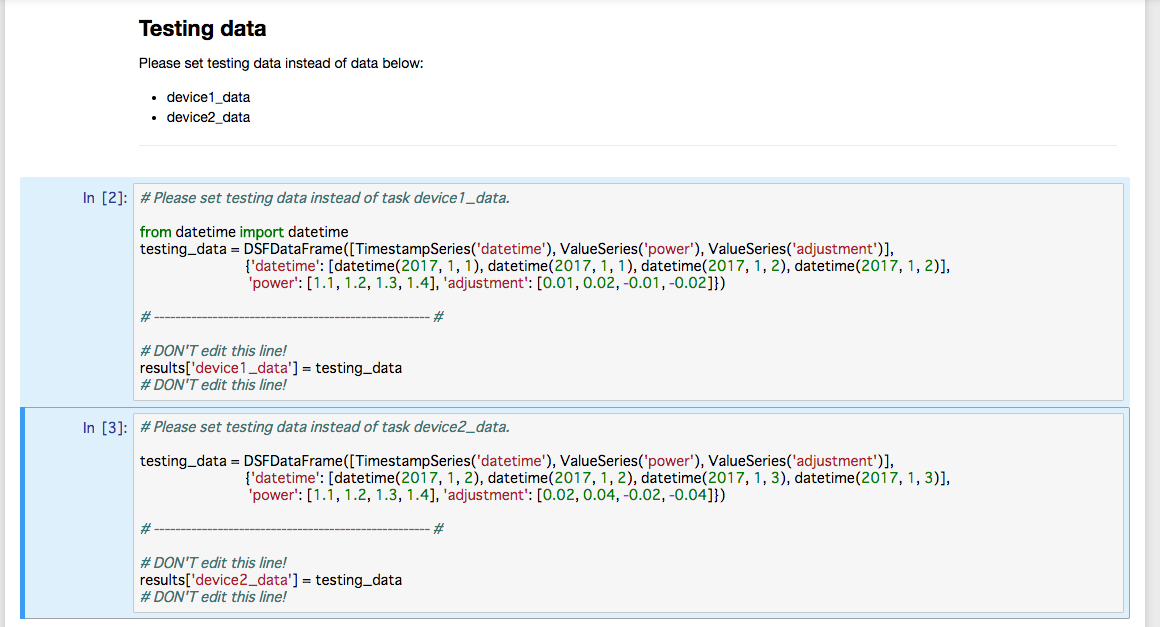
You have to assign data to variable testing_data.
You can create test data by code like below:
testing_data = \
    DSFDataFrame(
        [TimestampSeries('datetime'), ValueSeries('power'), ValueSeries('adjustment')],
        {'datetime': [datetime(2017, 1, 2), datetime(2017, 1, 2), datetime(2017, 1, 3), datetime(2017, 1, 3)],
         'power': [1.1, 1.2, 1.3, 1.4],
         'adjustment': [0.02, 0.04, -0.02, -0.04]}
    )
Running debugger task
Then execute debugger task in auto-generated code.

You can see result like below:

Re-generating debugger
If you find out some problem in your calculation, you will want to fix it and generate debugger again.
Then just do Generating debugger notebook.
You can get new debugger that is completely independent with old one.